There are few things lovelier than the whorls, spirals and intertwining veins of rich color that characterize marbled paper, and with marble’s recent resurgence, we can’t help being a little obsessed. When Hallmark Signature reached out for help curating a couture collection of marble designs for their effortless aesthetic, it became an opportunity no Hallmarker could resist: to make our own.
Image may be NSFW.
Clik here to view.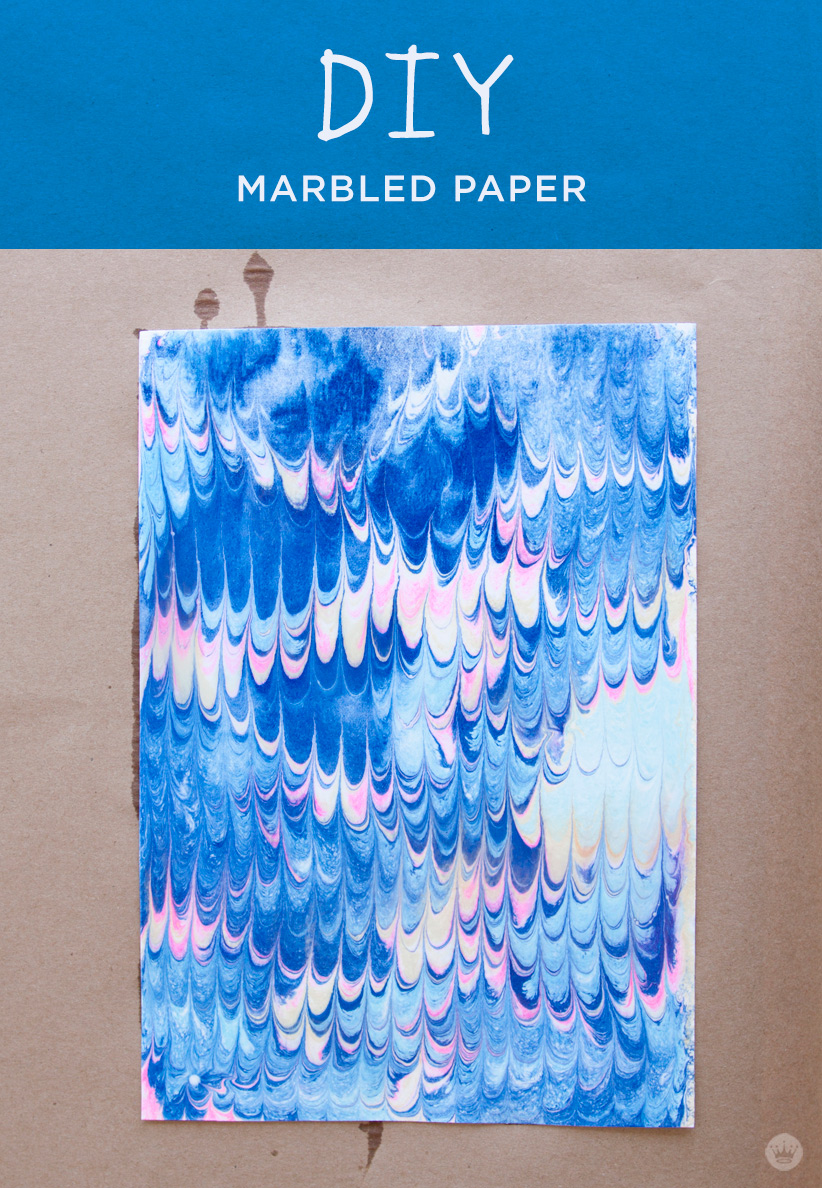
Marbleizing is a process in which you float paint pigments on top of a chemical medium, called a “size,” and then use a pre-treated, absorbent piece of paper or fabric to pick up those floating pigments. Every piece of marbled paper is different because of the organic way the pigment floats and can be manipulated across the size. Most of the work of marbling is in the set up, but once you’re ready to go it’s an easy task to pull sheet after sheet of striking swirls.
Here’s how to create your own marbled paper:
Remember that you are using chemicals, so please work with care, keep your workspace clean, follow directions carefully and dispose of used materials responsibly. When using ammonia, always store it away from any products containing bleach.
Image may be NSFW.
Clik here to view.
To prepare you:
- Gloves
- Apron
To prepare the paper:
- Watercolor Paper, or any other absorbent stock
- 2 tbs Alum (Alum is a mordant, which helps the paper absorb the pigment)
- 2 cups warm water
Mark the back of every sheet of paper with a small pencil mark, to keep track of which side you are preparing. After mixing the alum and water, use a wide brush or spray bottle to apply a light layer of mordant to the front of your paper. The paper will absorb the solution. Allow the paper to dry completely for about an hour and, if necessary, iron on a low setting to flatten it.
To prepare the size:
- 2 tbs Methocel (Methocel is the thickening agent that creates the size, and what allows the pigment to float)
- 1 tbs Ammonia (activates the Methocel)
- 1 gallon water
- Large mixing bowl or bucket
- Whisk
- Newsprint
- A rectangular pan with sides that are at least 2½” tall and will fit your sheets of paper (Disposable aluminum cake pans from the grocery store work well)
Methocel must be prepared at least 30 minutes before you begin marbleizing, so it can sit in the pan long enough for any bubbles to pop. It’s a good idea to mix your size while waiting for your paper to dry.
In a large bowl, add ammonia to water and then add Methocel, whisking constantly. Avoid whisking so aggressively that you make bubbles, or you’ll have to wait longer for them to settle out. You will see the mixture begin to thicken to a syrupy consistency. Fill the pan with 1½” to 2” of size and allow to rest for a half hour. If there are still bubbles on top of the size, gently drag a piece of plain newsprint across the top to smooth out the surface.
For the pigment:
- Acrylic Paints
- Water
- Paintbrushes
- Toothpicks or skewers
- Cardboard Strips (cut to the width of your pan)
- Pan full of water or sink for rinsing paper
- Optional: Synthetic dispersant (If you don’t have dispersant, a few drops of odorless, fragranceless dish detergent in 2 cups of water will have a similar effect)
Image may be NSFW.
Clik here to view.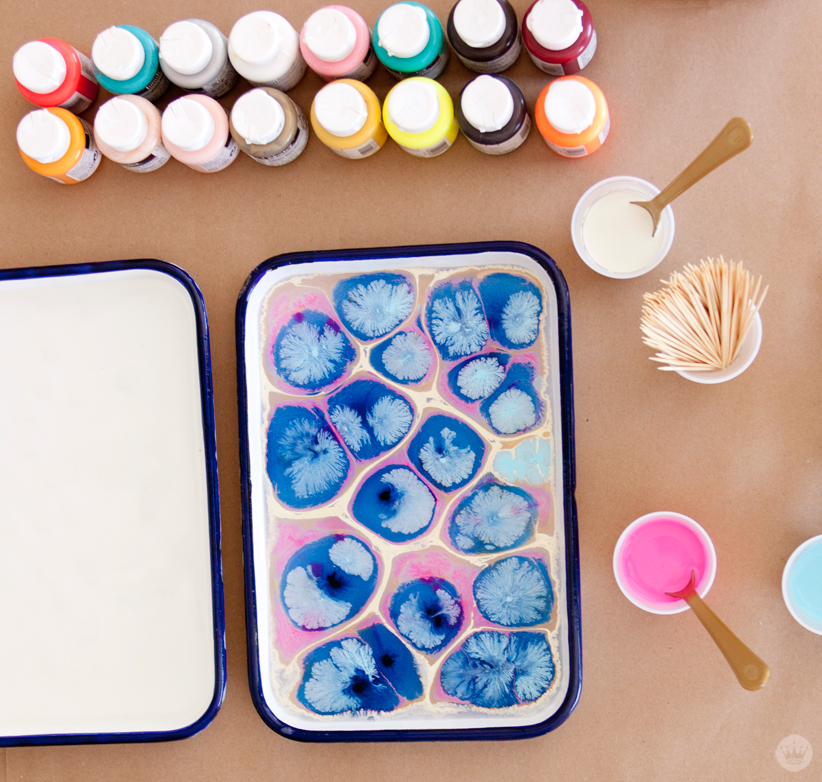
Thin your acrylic paints with water until they are runny, about the consistency of half-and-half. Using a small brush, pick up pigment and gently drip paint onto the size, without bringing the brush into contact with the surface. You can drip paint in dots next to each other, or layer colors in concentric circles by dripping colors on top of each other. Drop as much or as little pigment as you’d like; now is the time to get a feel for the process and experiment. Once you have your colors floating on the surface, use a toothpick or skewer to guide the pigment into shapes and swirls. You can also drip diluted dispersant onto the size, which drives the pigment away from wherever it touches. Be gentle while you’re creating your design; you don’t want the pigment to sink to the bottom.
If your pigment is sinking, it may need to be thinned more. You can also try dry-mixing a small amount of diluted dispersant into your pigment. If you can’t get a pigment to float at all, it might be best to try a different color. Some specialty stores sell pigment that has already been diluted specifically for marbling.
Pro tip: You can slide toothpicks or skewers between a piece of cardboard to create a comb that will pull pigment uniformly through the size to create an arch pattern.
Image may be NSFW.
Clik here to view.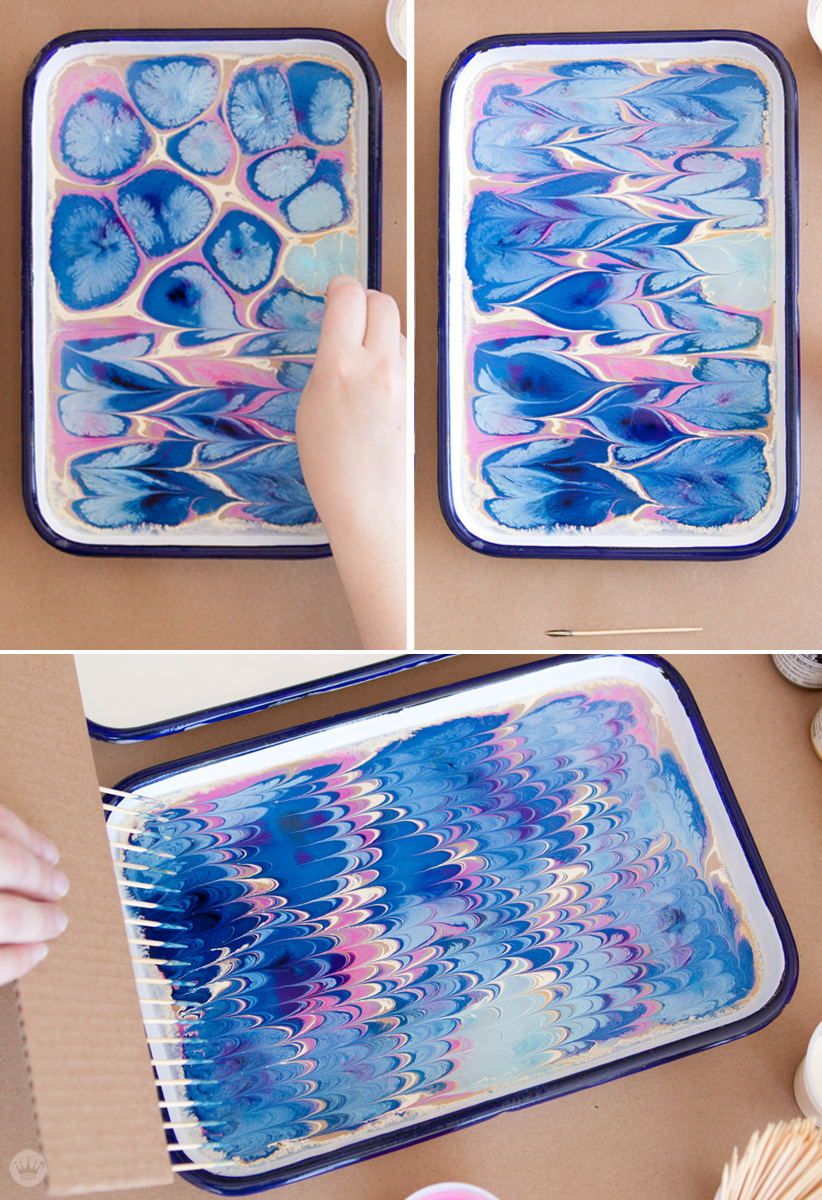
Once you’re satisfied with your marble, pick up a piece of paper by the top corners, making sure the treated side is facing away from you. Lay your paper on top of the pigment, letting the treated side hit the surface from the bottom to the top to keep from trapping air bubbles under the paper. The paper will float on top of the size. Gently smooth out the paper to ensure you’ve gotten the most coverage, but don’t push hard enough to submerge the paper. After a few seconds, lift your paper off the sizing and immediately rinse the excess off the surface. The paper will have already absorbed the pigment, so don’t worry about accidentally washing it off. Hang finished pieces or lay on pieces of newsprint to dry.
Image may be NSFW.
Clik here to view.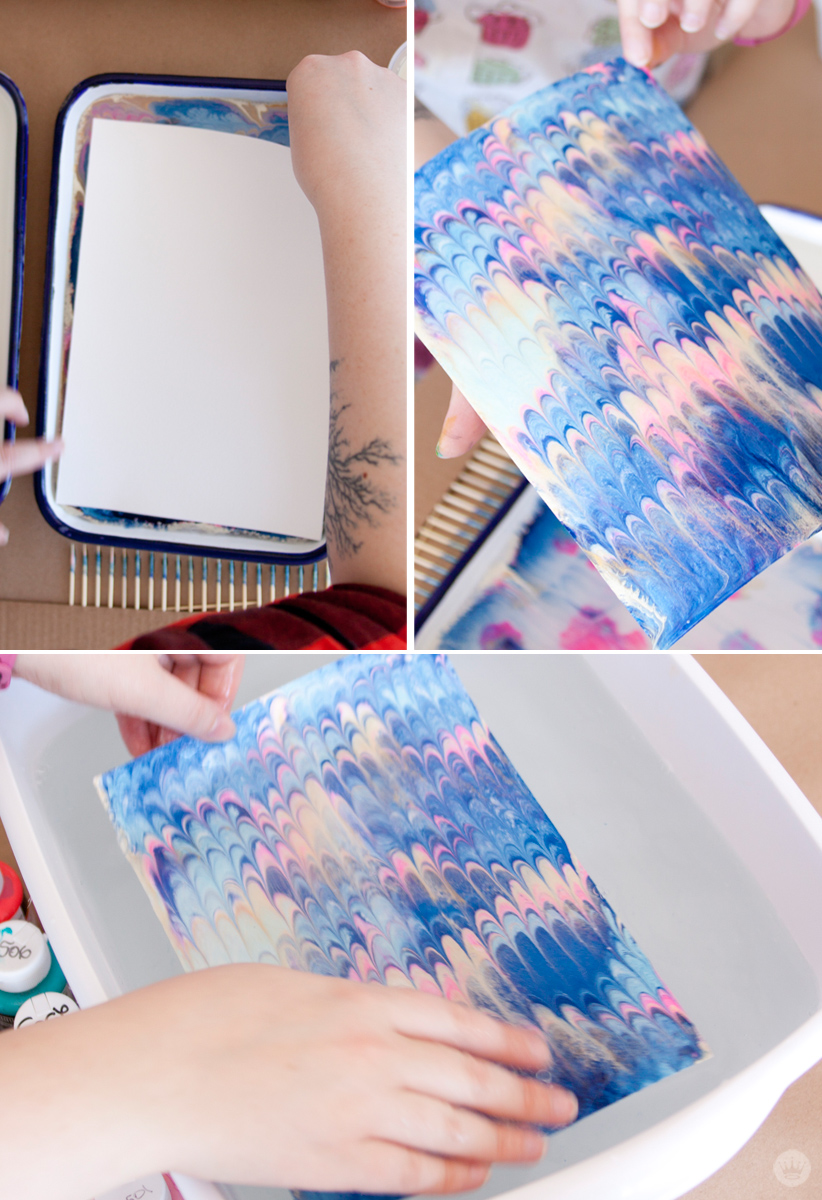 Image may be NSFW.
Clik here to view.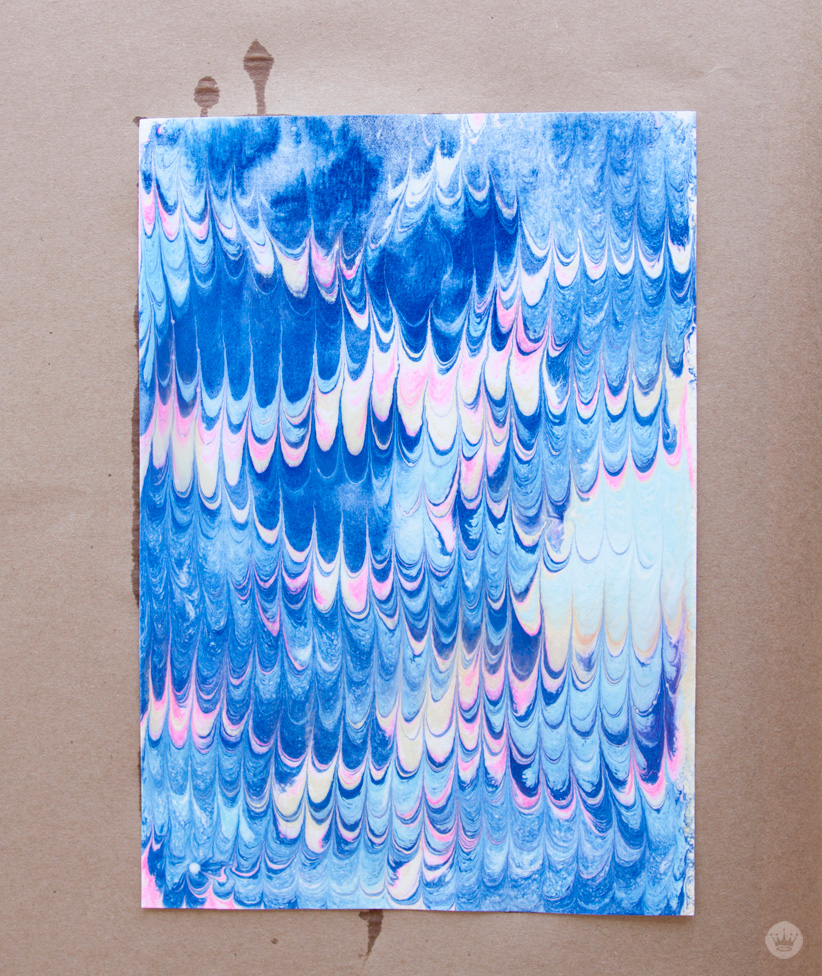
Once you clear the excess pigment off the surface of the size with newsprint, you can add new pigment and pull more marbles. As long as you have a clean surface to work with and enough sizing to float paper on, you can continue to marble. The size will keep for three to four days without refrigeration in a closed container (and a few days longer in the fridge) but discard any size that looks or smells moldy. The size has a nasty habit of clogging drains, so pour the excess into a container before discarding.
Image may be NSFW.
Clik here to view.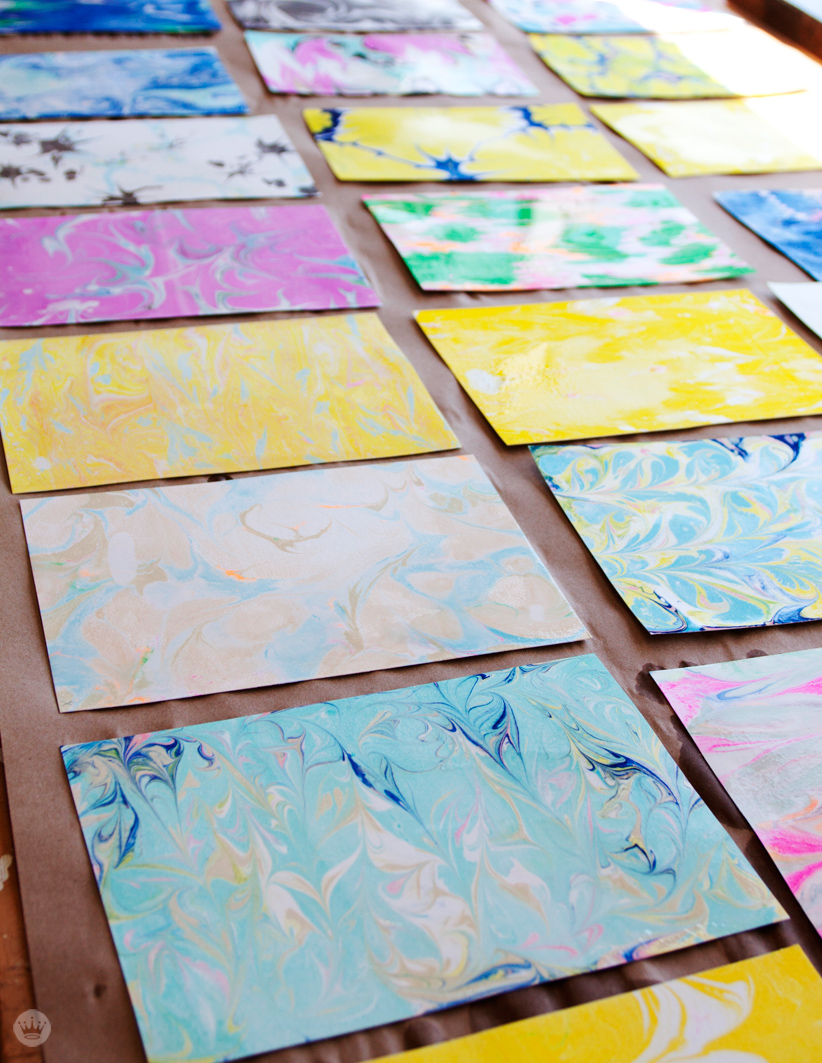 Image may be NSFW.
Clik here to view. Image may be NSFW.
Clik here to view.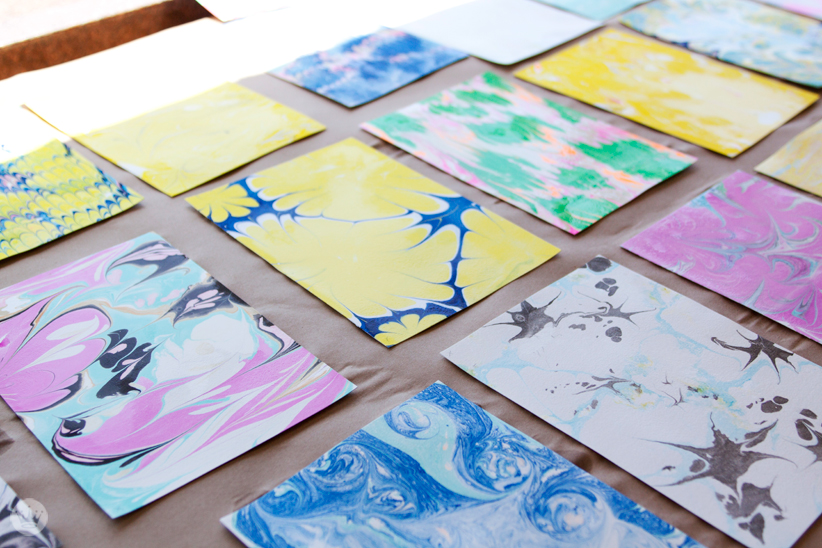
With a little preparation (and a bit of clean up), there’s a world of kaleidoscopic possibility at your fingertips!
Share your marbled paper creations with us on Instagram, @think.make.share.
The post Make your own marbled paper appeared first on Think.Make.Share..